Setup Guide
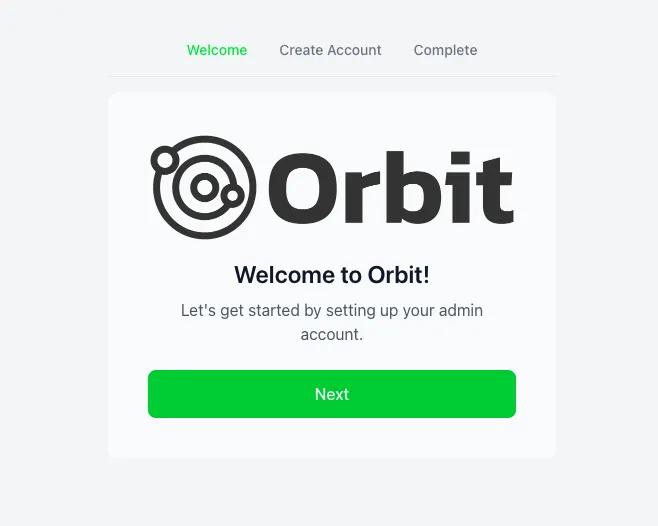
Setting Up Orbit
This guide will walk you through the initial setup process using the Orbit web interface.
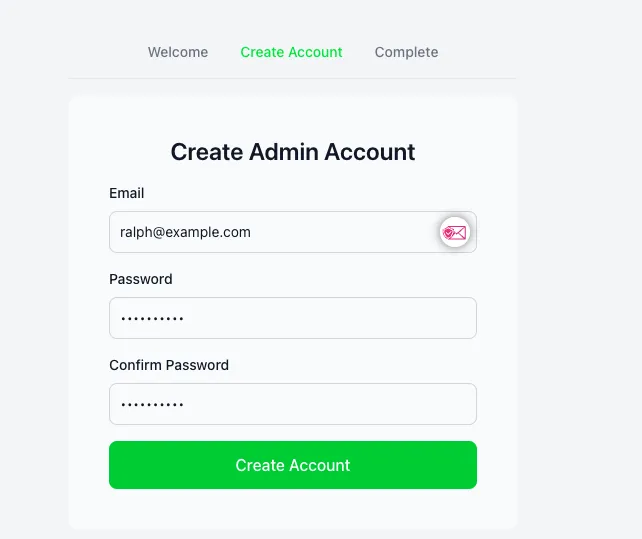
Initial Login
After starting Orbit, navigate to http://localhost:8090 in your browser.
Enter your API key to access the dashboard.
Dashboard Overview
Once logged in, you’ll see the main dashboard.
The dashboard provides an overview of your scanning activities and recent findings.
Creating Your First Scan
Step 1: Navigate to Scans
Click on the “Scans” section in the sidebar.
Step 2: Create New Scan
Click the “New Scan” button in the top right corner.

Step 3: Configure Scan Settings
Fill in the scan configuration:

- Enter the target URL or IP
- Select scan type
- Configure scan options
- Set schedule (optional)
Step 4: Start Scan
Click “Start Scan” to begin the scanning process.

Viewing Results
Scan Progress
Monitor the scan progress in real-time.

Findings
View detailed findings once the scan is complete.

Managing Templates
Accessing Templates
Navigate to the Templates section to manage your Nuclei templates.

Adding Custom Templates
Add your own custom templates:

- Click “Add Template”
- Upload or paste your template
- Save and verify
Configuration Settings
API Settings
Configure API settings and integrations.

Notification Setup
Set up notifications for scan results.

Best Practices
- Regular Updates: Keep your templates updated
- Scan Scheduling: Set up recurring scans for continuous monitoring
- Resource Management: Monitor system resources during scans
- Template Organization: Maintain a clear structure for custom templates
Troubleshooting
If you encounter issues during setup:
- Check the logs using
./orbit logs - Verify your API key
- Ensure all required ports are accessible
- Join our Discord community for support